
0 Comments
Hero Arts February 2020 | 10 cards 1 kit | Part 1
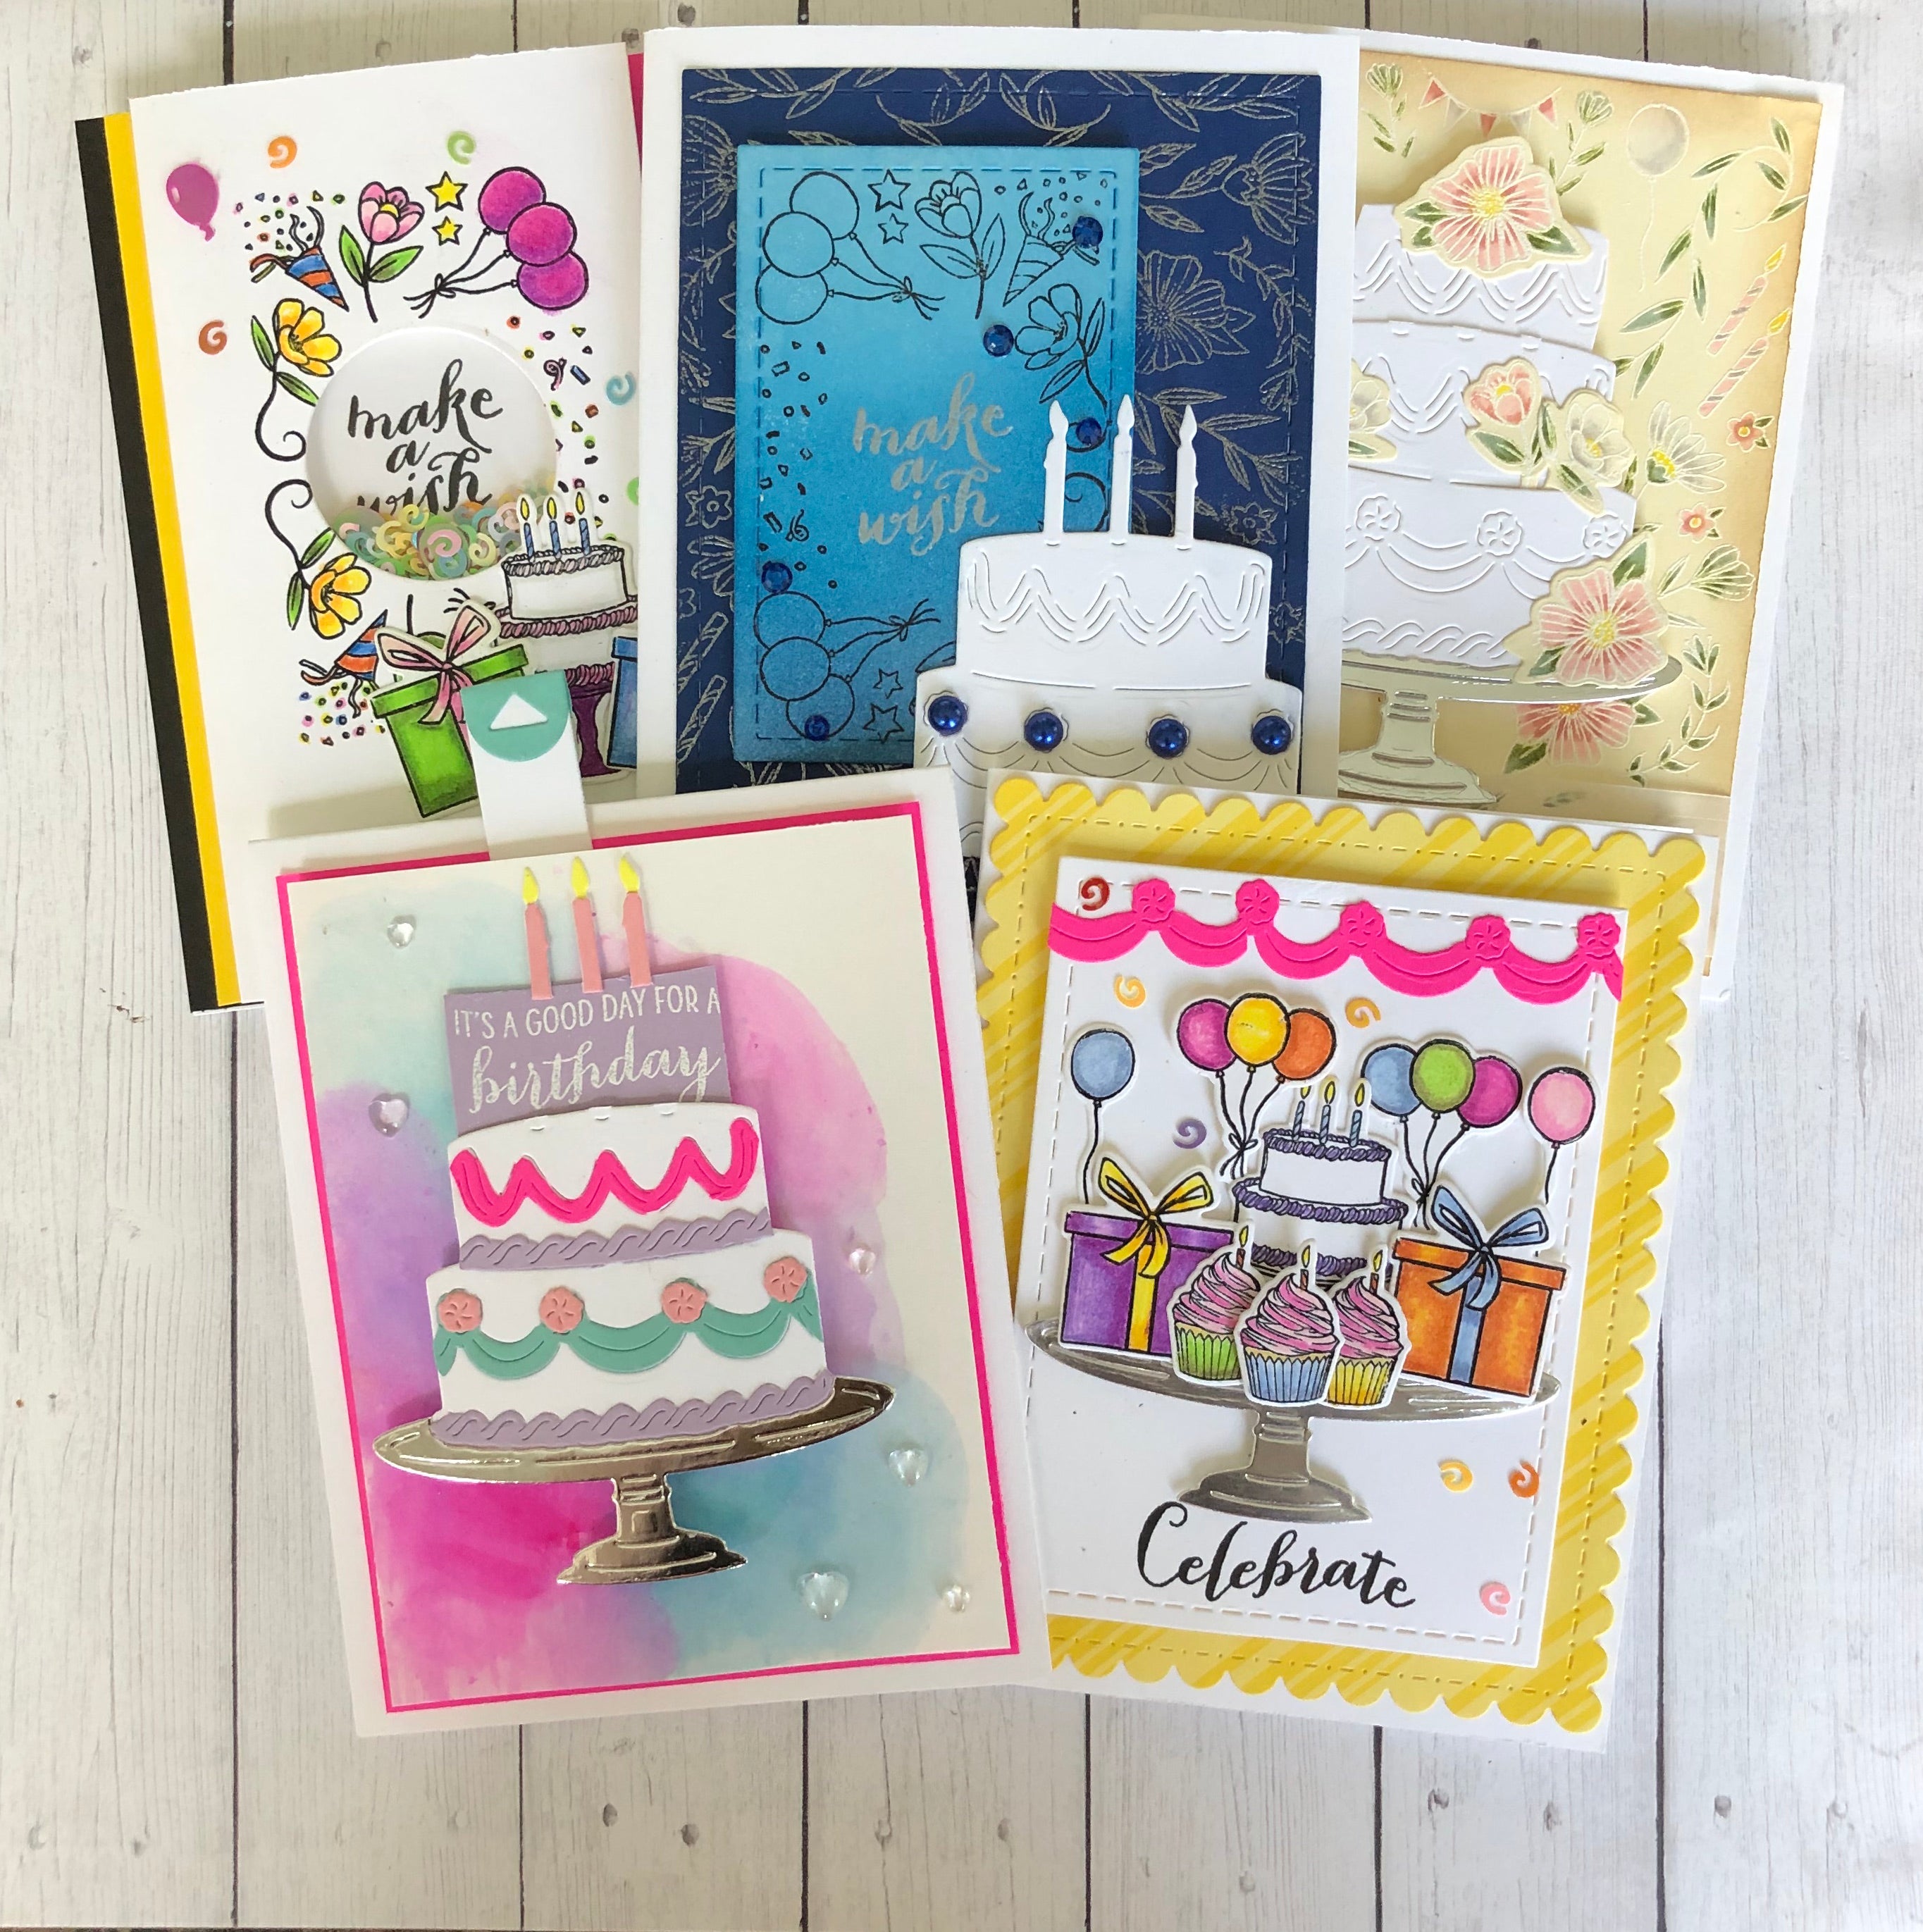
It's that time again when I showcase 10 cards that I created with the my monthly Hero Arts card kit for the month of February. This months kit had a birthday theme. The contents inside the kit included a beautiful two tiered cake die and two background stamps. This month's kit was a nice change from past kits. I enjoyed that all of my cards had equal amounts of stamping, die cutting and coloring. For all the coloring on my cards I used my prismacolor premier color pencils. Most of my cards are very bright and cheerful. Overall, I had a lot of fun working with this kit.
Unfortunately, the February card kit is sold out. I hope that my blog post and video tutorial still inspired those who were able to get the kit this month. To those of you who weren't able to get the kit, I hope that you can find some things in your stash to create something similar! Thanks for stopping by. Please leave any questions or feedback in my comment section; I love reading and replying to your comments!
Card One


I'll admit, card one didn't turn out quite as I had envisioned it in my head, but I still like how it turned out. If I were to redo this card, I'd probably use a darker embossing powder on the background stamp. I think if you use a darker embossing powder the images will pop more. Regardless, I still like how this card turned out. The white embossing powder in the background does look very soft and lacy, which is nice for a wedding card. To help the background stand out a bit, I added vintage photo distress ink around the edges of my cream panel. The sentiment "celebrate" was white heat embossed on a vellum strip, which I added to the bottom of the panel, below the cake.
I die cut the cake from white card-stock and layered a silver die cut plate below it. I wanted my cake to have an extra tier, so what I did was die cut the second tier again from the same white card-stock. I trimmed both ends to make it slightly less wide. Then I attached the third tier to my second using glue. To dress the cake up, I added a few florals. I like that the flowers in the background match the individual flowers on the cake!
Card Two


I thought it would be fun to have something pop out of the die cut cake. Trying to remain within the contents of the kit, I decided to have a white heat embossed sentiment pop out. However, you can pop anything you'd like, I think an animal or balloons would be really cute! The entire sliding mechanism was made using a Lawn Fawn "Lets Toast" add on die (linked below). My video quickly shows how I put the mechanism together but I suggest watching this video if you want to see how it works:
https://www.youtube.com/watch?v=bSLzNSEG1qw&t=326s
Note that you do not need this die to create this pop up effect! You can use any slider die you have, or you can create the mechanism yourself with just your trimmer. Check out this Jennifer Mcguire youtube video to learn how:
https://www.youtube.com/watch?v=VIPJ380MqGM
The background of the card was created using my zig clean color real brush markers. I scribbled blue, purple and pink onto a Bristol Panel (3.75 x 5) I used a water brush to move the pigment. The water created that pretty "cloud" around the cake. To dress up this cake, I added some colorful ribbons as well as a silver plate. The card was further embellished with a few Trinity Stamps clear heart droplets.
Card Three


This month's kit included some sequins, so I decided to create a shaker card. I first stamped and clear heat embossed my images. I stamped the smaller background and "let's party" sentiment onto a 3 x 5.5 in white strip of card-stock. I colored everything with my prismacolors. I chose colors that matched the sequin pack (basically rainbow) I die cut two packages and a cake to add to the right bottom side of my shaker window. The window was cut from the center of the background stamp with a circle die. I decided to add a second sentiment inside my shaker. I made sure to stamp "make a wish" inside a slightly larger circle. I added two strips of colored card-stock behind my white strip and popped it up onto a black A2 sized panel. To finish the card off, I sprinkled a few more sequins around the scene.
Card Four


I loved the colors from the last card so much that I decided to incorporate them onto card four. I started this card by die cutting a silver plate from the cake die that came in the kit. Instead of putting a cake on the plate, I decided to create a party table. On top of the table I added a cake, three cupcakes and some presents. Behind the table I added balloons, some of which I popped up with foam tape. The banner above the table was actually the ribbon on the cake die. I stamped and clear heat embossed "celebrate" underneath the table. I foam mounted the stitched rectangle panel onto a yellow scalloped stitched rectangle. As usual, I embellished the card with a few of the confetti sequins that came in the kit.
Card Five


My fifth card was the most simple to put together. I started by silver heat embossing the large background stamp on navy card-stock. I added some faded jeans distress ink to the edges of the panel to add some interest. I die cut a small stitched rectangle from some white card-stock. Then, I stamped and embossed the smaller background stamp with black ink. I ink blended faded jeans and salty ocean distress ink, creating an ombre from dark blue to light blue. In the center of the panel I silver heat embossed the sentiment "make a wish"
The cake I die cut from some white card-stock. This cake was my most simple. I really felt that the white cake was striking against the dark blue. The only embellishments I added were some navy blue pearls. I also decided to add a few navy blue gems to the sentiment panel.
Video Tutorial
Supplies
NOTE: I am using affiliate links for the products listed below. If you decide to use these links, know that I will receive a small commission off of your purchase. This is no added cost to you as the consumer, it's just a way for us crafty friends to support one another!
My Monthly Hero Arts Card Kit Subscription Options
Coloring medium
Prismacolor “Premier Colored Pencils” 48 assorted colors w/ sharpener
Card One
Card Two
- Kuretake ZIG “Clean Color Real Watercolor Brush Pens” 80 color set
- Lawn Fawn “Lets Toast” Add-on lawn cuts
- Hero Arts "PW110 White" embossing powder
- Trinity Stamps “Boiled Sugar” heart embellishments
Cards Three & Four
- WOW Clear Embossing Powder
- Your Next Die “Stitched Scalloped Rectangles” diet set
- Memory Box “Stitched Rectangle Trimmings” die set
Card Five
- Studio Katia “September Crystal” embellishments
- Hero Arts “PW101 Silver” embossing powder
- WOW Clear Embossing Powder
- Bobunny “Blue Hues” Jewels (ALTERNATIVE)
Challenges
This blog post is a submission for the Simon Says Stamp Wednesday challenge: add a sentiment